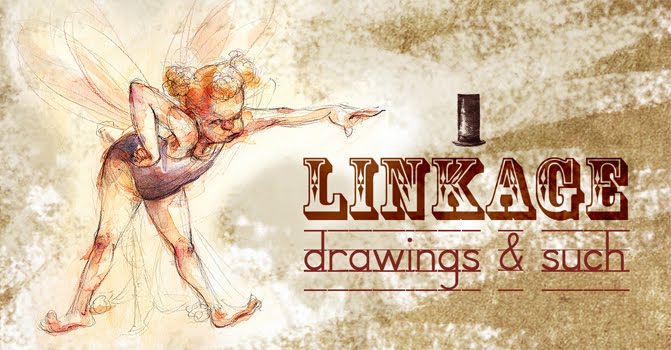


I've recently started teaching a class at CIA inspired by some of the classes being taught out on the West Coast notably by artists working at Disney and Pixar. Drawing from the nude model has it's purposes but is quite limited if you're a working illustrator. To that end I'm marrying material from the great Walt Stanchfield, the fantastic Mark McDonnell and my own accumulated knowledge. The basic premise? Drawing to tell the story. To that end here are a few basic concepts that I've used to construct drawings from gesture through finish. The color drawing is a memory drawing adapted from one of the poses our model took a few nights ago...
Quotes to live by...
"Draw Ideas, not thing; action, not poses; gestures not anatomical structures"—Walt Stanchfield
"Build a figure in such a way that its pose tells what is in the soul of it. A gesture is a movement not of body, but of a soul"— Leonardo da Vinci
Nuts and Bolts
Straights vs Curves - Basic principle of placing a straight line against a curved line to choreograph a flow of movement that directs the viewer where you want them to go. It also creates a well intentioned design rather than a random placement of lines. The key is creating a dynamic relationship between the two which will direct movement and show volume.
Angles: are a tool used to indicate and increase tension making an inactive pose active. They simplify a pose to its bare essentials while complimenting, opposing or balancing the subject matter. Working one angle against another one creates a stronger statement.
Overlapping forms/Foreshortening -
The art of seeing through the form in front of you. By placing one object in front of another such as an arm in front of a torso or bent knee in front of a hip. It creates the illusion of depth. Foreshortening is simply drawing objects in the foreground larger than those in the background. It helps to be simplifying the shapes.
Seeing through the form also eliminates drawing contours and flattening the drawing. ( More on foreshortening in Week 3 and 4)
Volumes and Shapes -
Once you've got your line of action keep your shapes simple -
Head - oval
Chest and torso - peanut shape that bends underneath the rib cage
Legs and arms - pipes
Having this basic simplification of shapes will allow you to see through the form in 3-D quickly. Again getting down to the essence of the form.
Interlocking forms - the "T" principle
It is a method of overlapping longer and straighter shapes such as arms, legs or fingers. It is showing the points in the pose where two lines meet at a perpendicular point and interlock so to speak. Such as the contour line of the inner bicep connecting to the bent forearm overlapping it. Look for all of these points along the action in front of you. They are most notably where major muscle groups meet, where body parts bend or twist and where joints are in use.
The "L" rule -
The places on the form where one thing meets another but is neither in front of nor behind it. The "line" changes direction, but does not overlap). ex. The base of the skull connecting to the neck and shoulder and arm in profile.
Costuming and Drapery -
Clothes cannot act...if they appear to do so it is relative to the body moving underneath them. They then enhance the gesture. But if you haven't nailed the gesture all the pretty folds in the world won't tell your poorly articulated story. Clothes must be doing what the body is causing them to do.
Again, keep it simple! Mentally take apart the clothing to see how it is constructed.
Ex. A sleeve: How big is the shoulder opening; how is it attached to the bodice; does it taper; does the shoulder seam attach at or below the shoulder.
Remember to keep your lines logical - keep in mind there role in relationship to defining the action, emotion and idea— don't through them in there just to throw in lines! Wrinkles and folds occur most notably at the joints or where there is pressure applied by bending or squeezing.
- at the knees, elbows or at the waist when seated
- remember squashing and stretching applies to folds an wrinkles as well. Folds will interlock and extend as you stretch your arm and then contract and squash at the elbow when you bend and contract it.
Remember, though, that fabrics all have different weights. As you build up your mental library of folds also build up your mental library of materials...silk, leather, wool, cotton etc...it will require you to observe and sketch ALOT.

3 comments:
great sketches! good luck with teaching, i am sure you will be great!!
Thanks Brad! It's fun but it is, indeed a challenge! Trying to find the most effective way to communicate to students whose learning languages and experiences are vastly different keeps me on my toes...!
Please can you explain "T" and "L" principle with one sample drawing. Thanks.
Post a Comment